Working with Multimats (Applying)
0. Introduction
Multi Materials (in the following just "multimat") use textures with several layers.
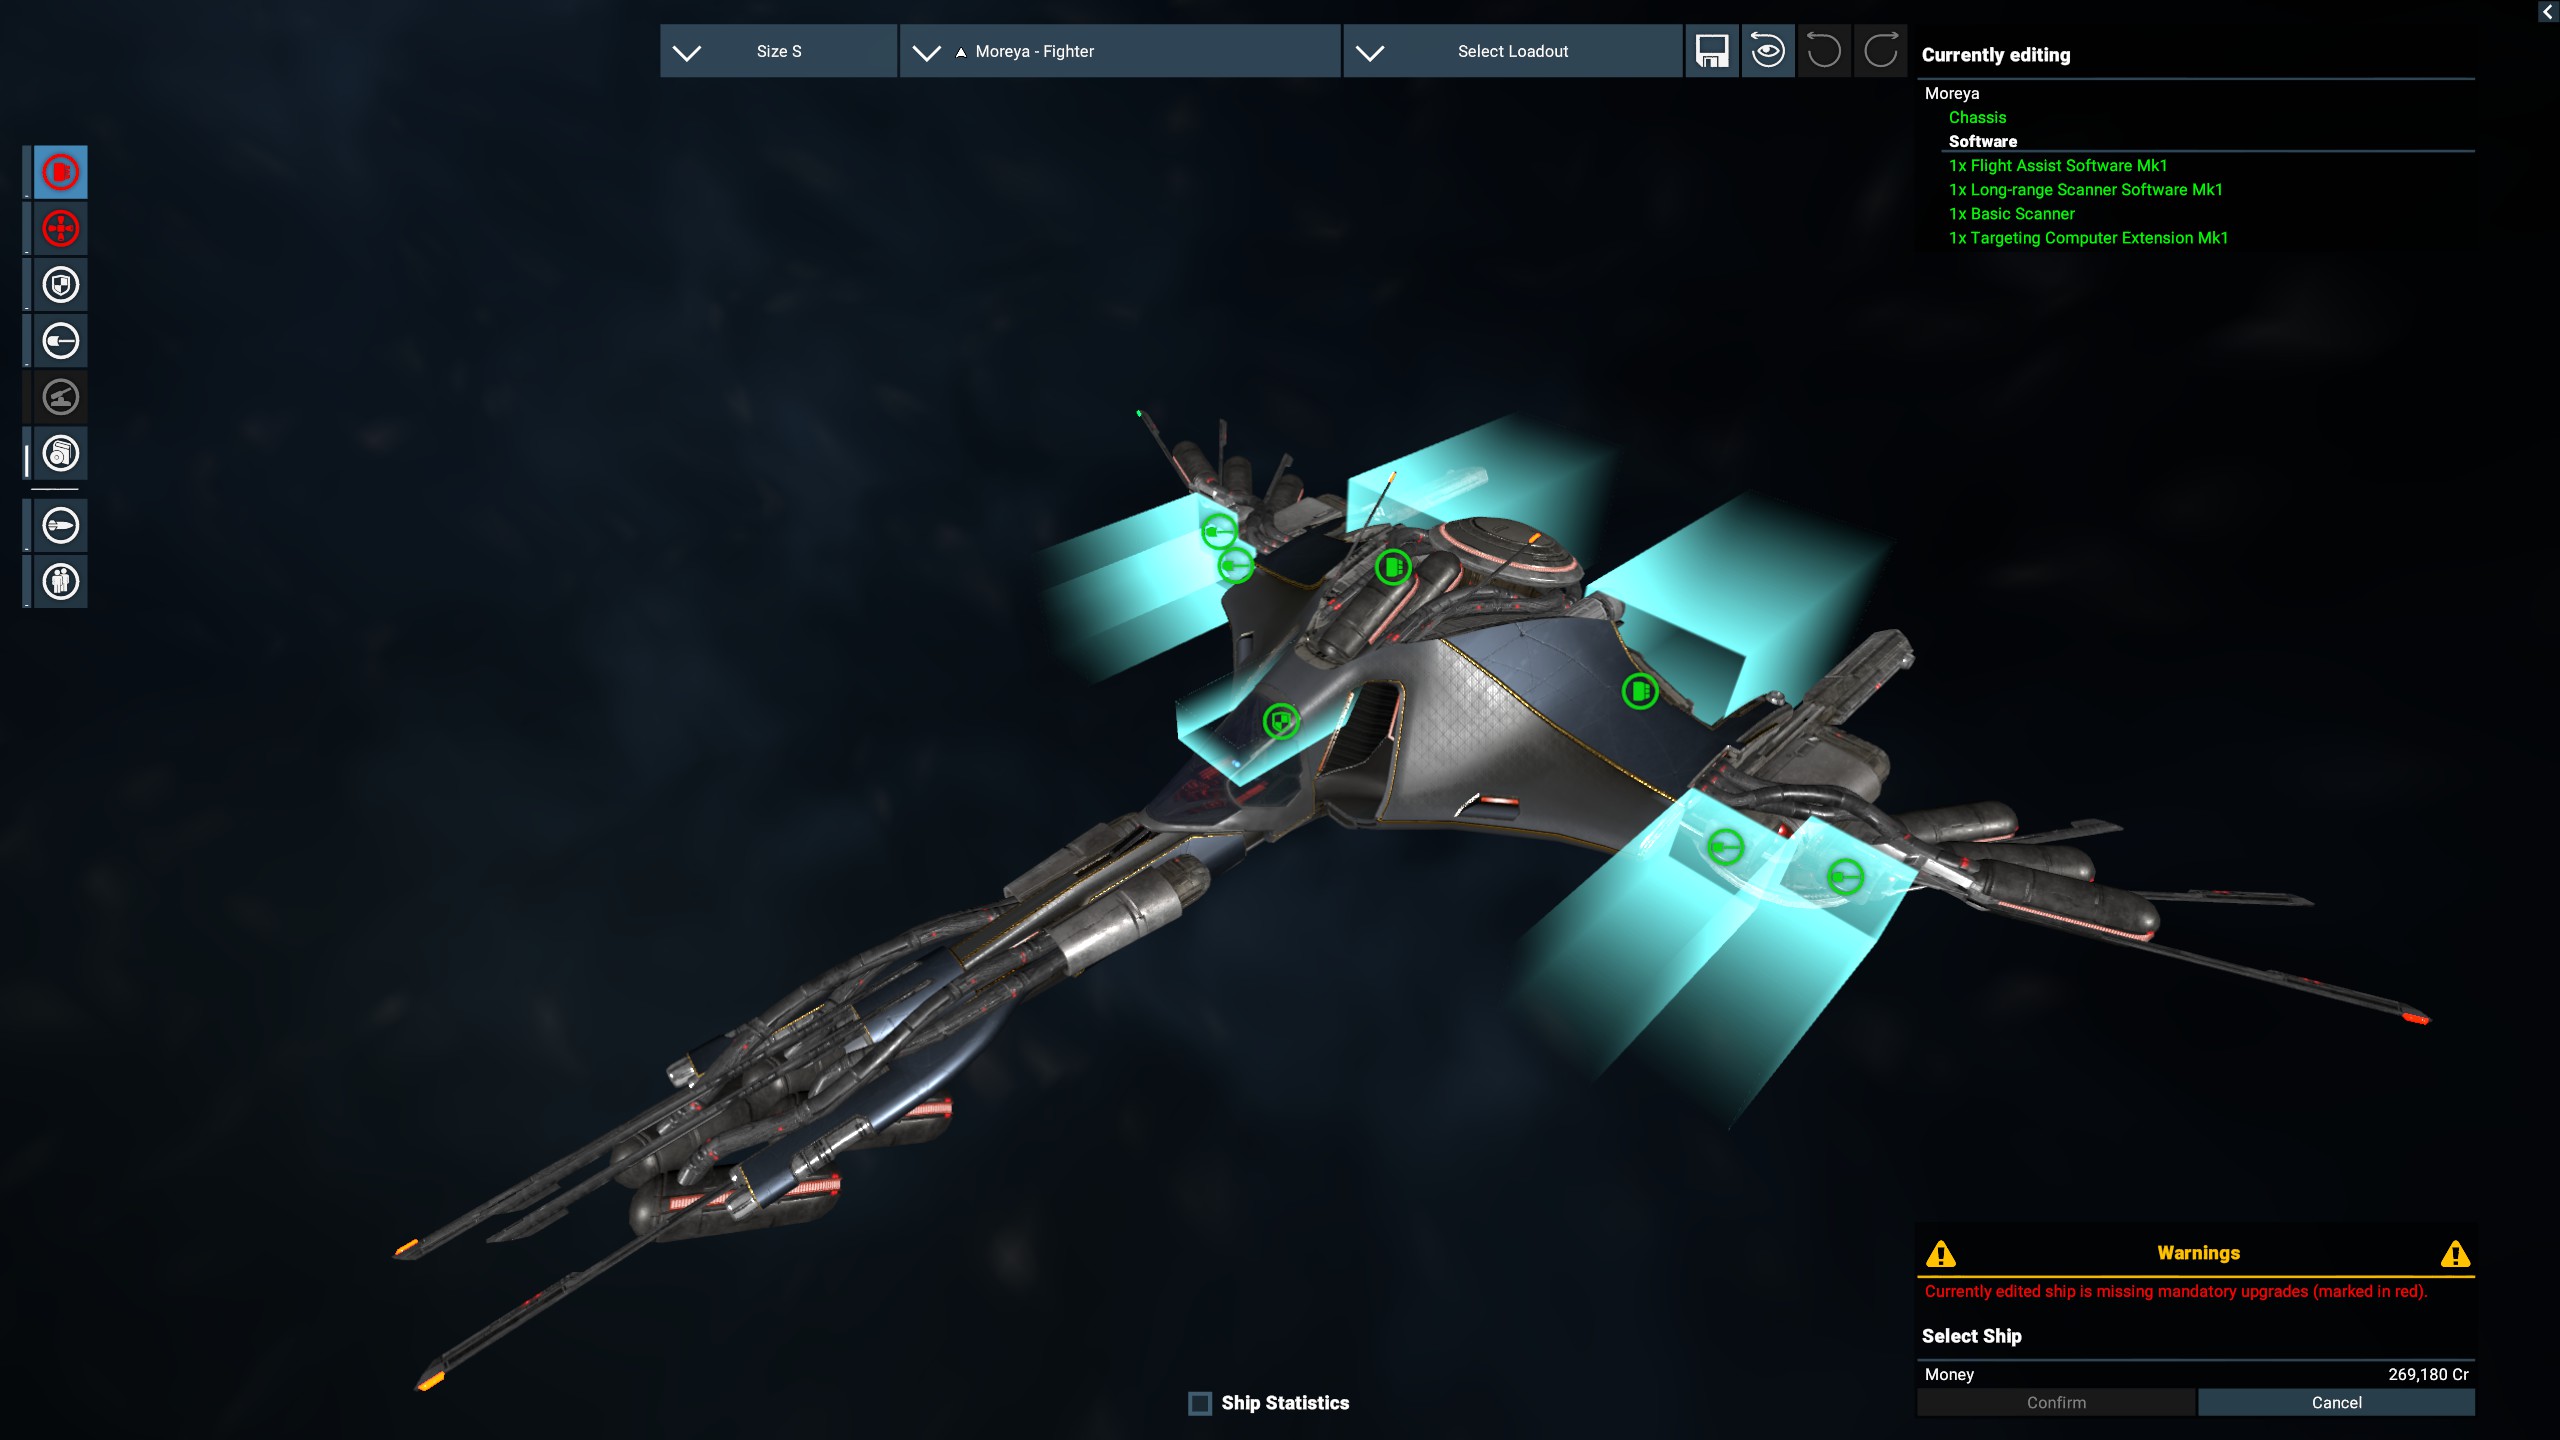
The multimat is often used for cockpits but also on several ships like the Moreya or a lot of Paranid ships. If you want to apply them to new ships, or when you want to modify existing ship models, you may want to know how it works.
Sadly i lack a proper program for reading the multimat files. GIMP is able to open them, but has some minor issues with showing them correctly.
If someone knows a better program for viewing the multimats, please let me know!
1. General informations about multimats
At first, we should take a look at the multimat. I recommend GIMP for that as many other tools are unable to open the files:
I will always use the file ...\extensions\ego_dlc_boron\assets\textures\multimat\p2_multimat_01_diff.dds. I will explain it later.
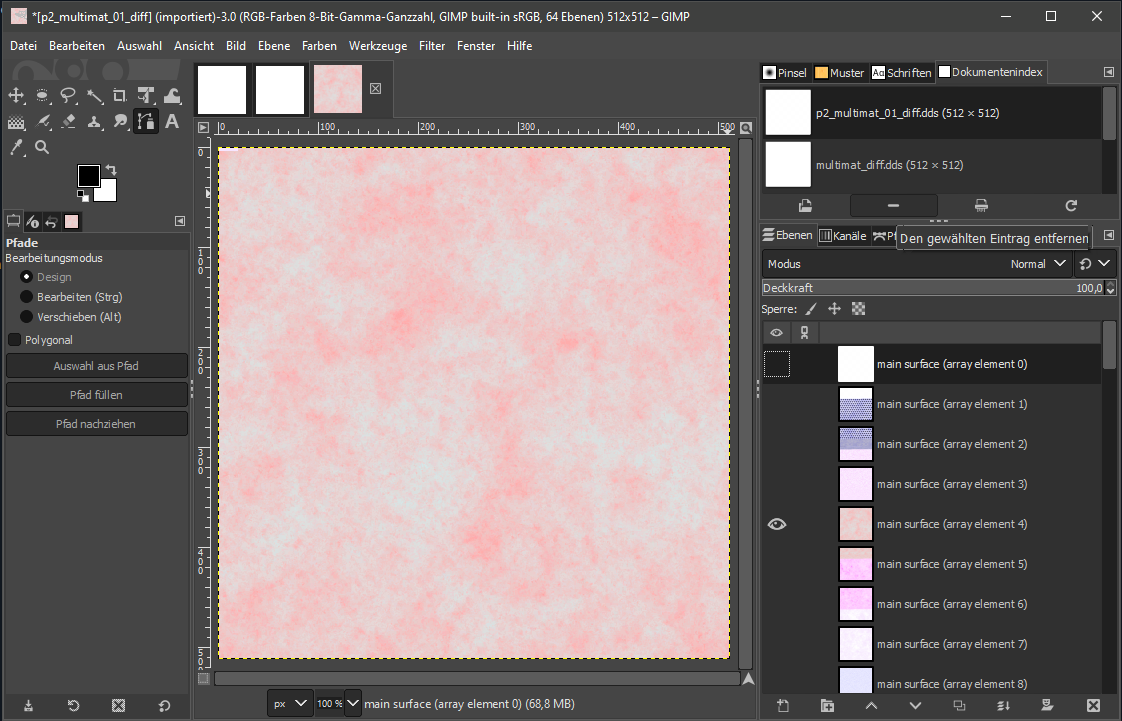
In the screen you see one layer in the mainwindow. On the right side, you see a few of the existing layers. Currently i selected layer 4.
This means, if you want to apply this texture-layer to your model, you have to tell the game to use the multimat channel 4.
Sadly you cant take the numbers as they are. As you maybe see, some of the textures seem to overlap into other channels. And thats something you have to take into account.
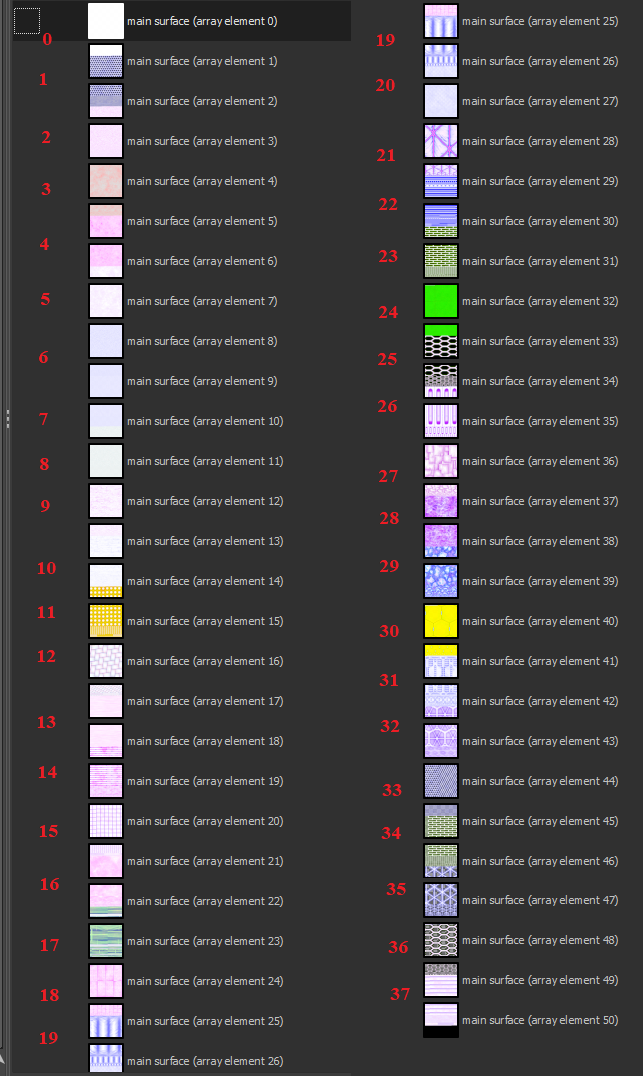
Here you see the numbers (red) you have to use to get the wanted texturelayer.
multimats are applied like other materials on the mesh via uv1-channel. The peculiarity are the vertex color channels. For using multimats, you need 3 additional ones, multimatid, multimatsmooth and multimatmetal.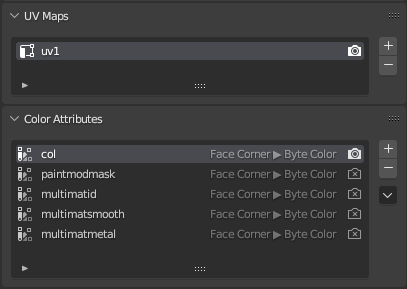
The col channel is used like on other ships. It defines the general color of the material.
You should not use a paintmodmask on a multimat. You just add the channel if your mesh, where you apply the multimat, also has parts where you want to use a paintmod. All areas which use a multimat should be black (Hex: 000000) in this channel.
multimatid defines the layer of the multimat that will be used
multimatsmooth defines the reflection strength/roughness of the material
multimatmetal defines the metallicity if the material

Picture Source: https://blog.unity.com/engine-platform/practical-approach-to-physically-based-shading
2. Applying multimats
As mentioned before, multimats are applied like normal materials. The only thing you have to remember: You can´t use the material p1.multimat any longer! This material was used in the pre-blender-era of Egosoft and the engine expects different values then the Blender tools deliver.
Instead, ALWAYS use the material p2multimat.p2_multimat_01. This material has the same layers as the old one and some additional ones.
After you have applied the material, you need to tell the engine which layer it has to use. Therefore you select the multimatid-channel and switch to the Vertex Paint mode of blender.
In this example, we want to apply layer 20: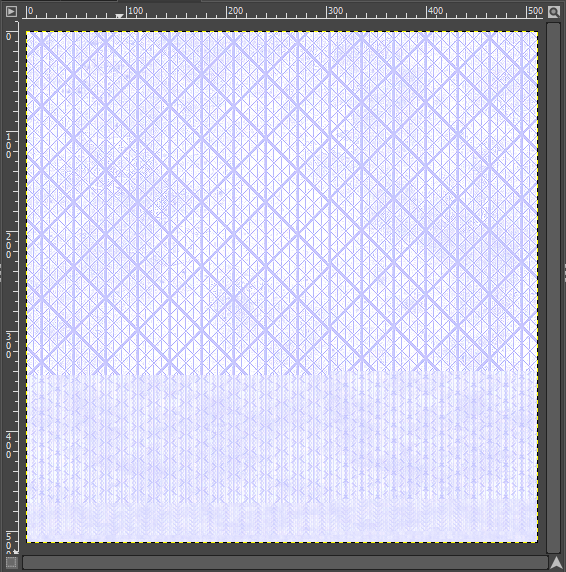
After we know our channel, we need to make a hex-value out of it. Decimal 20 becomes Hex 14. And thats our value:
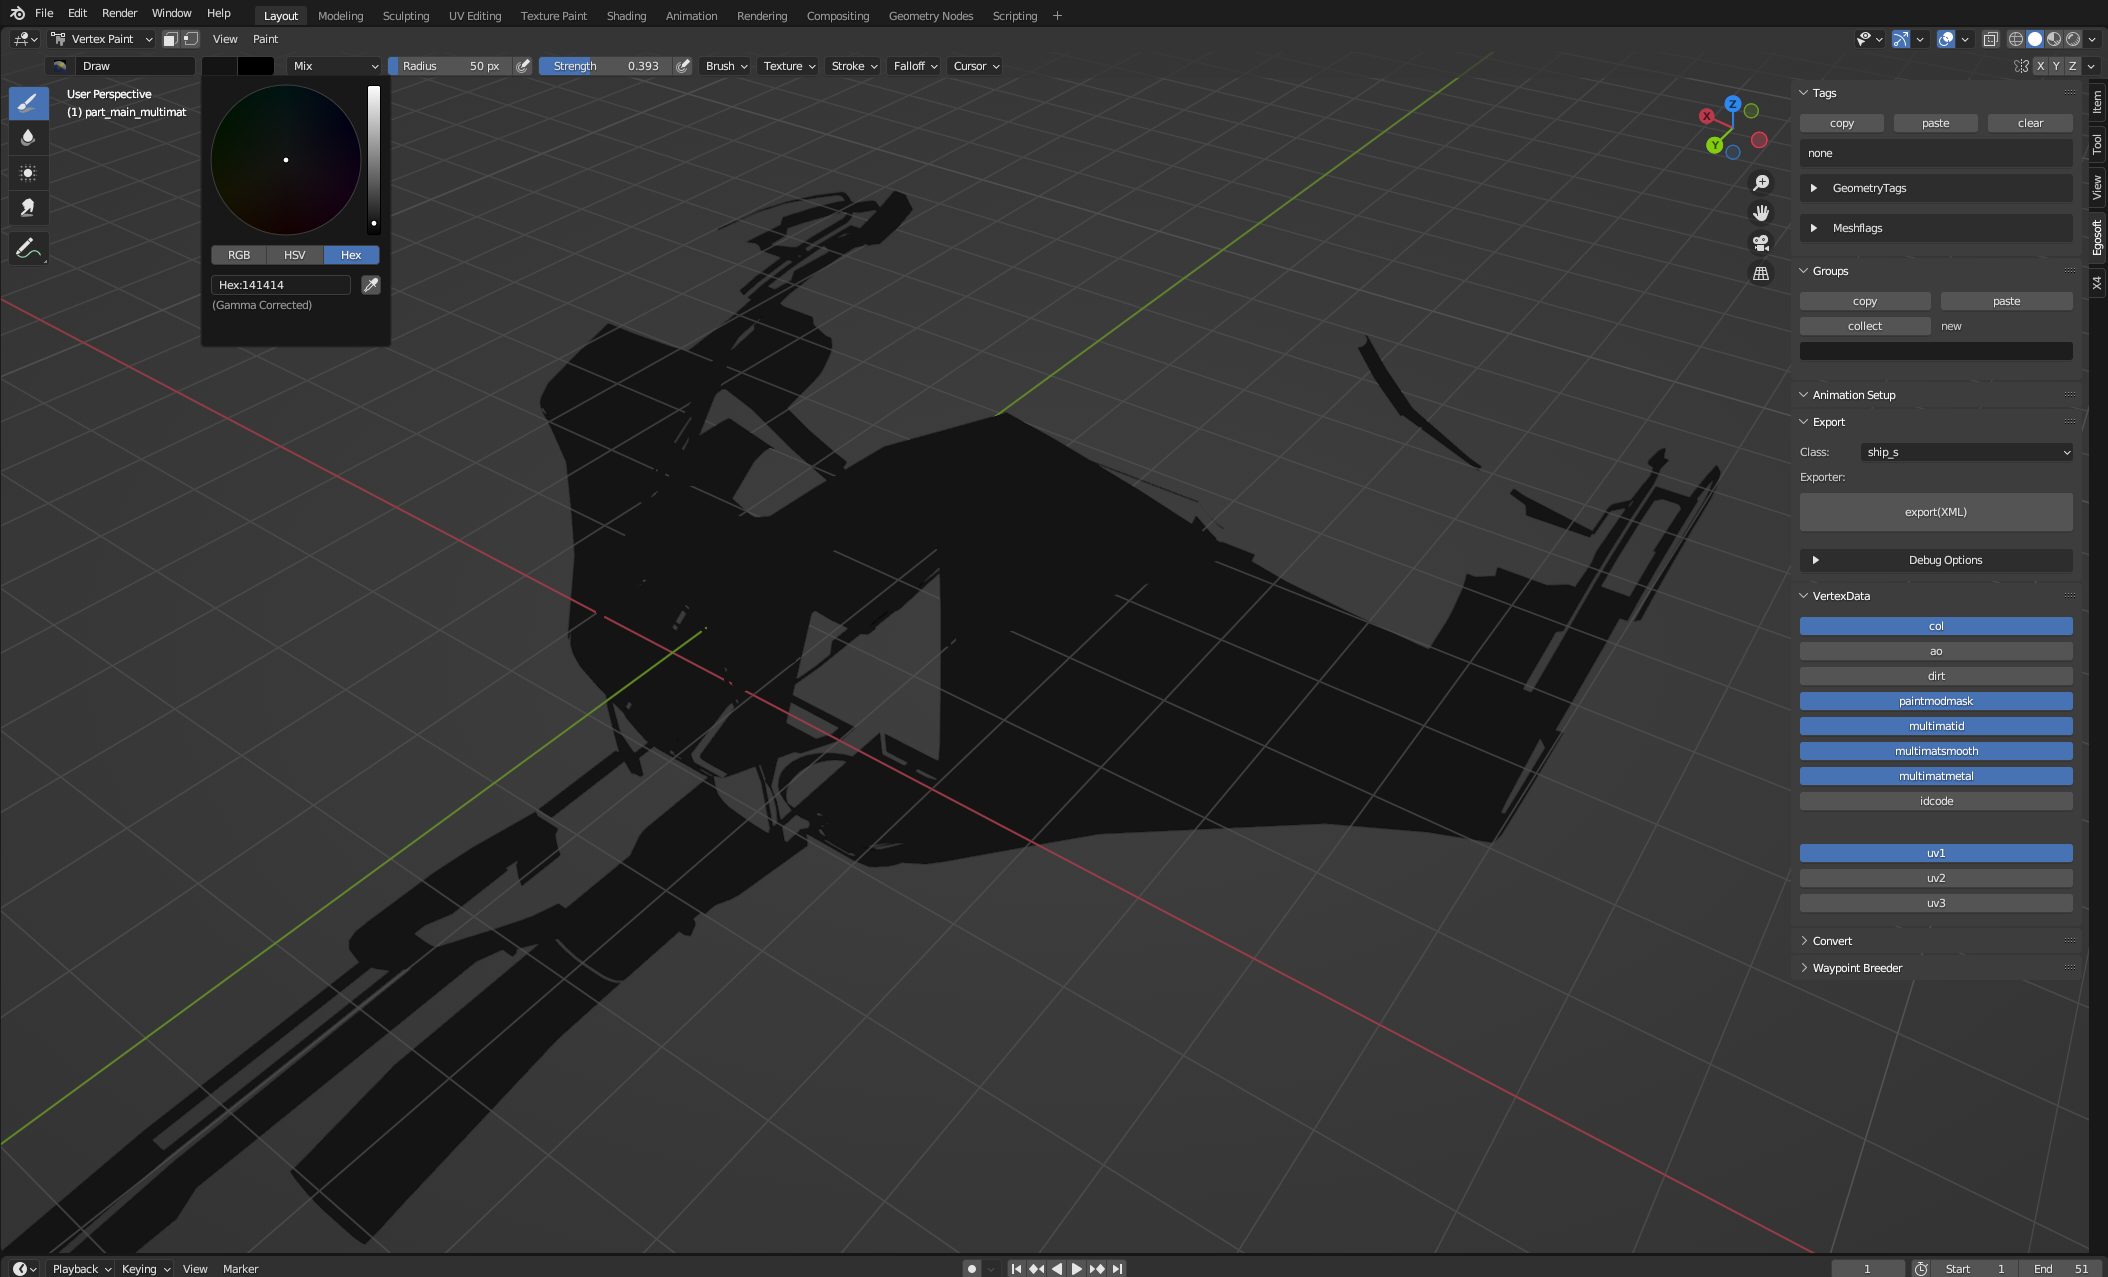
The color 141414 will now be applied to the part that will get the texture on it. I recommend working with Shift+K to apply the color on the whole part/area. Keep in mind: already minor changes in the shade of the color will change the material!
We apply colors to the other 2 channels in the same way, but with different values. In this example:
left: multimatsmooth C6C6C6
rght: multimatmetal: 030303
After that, the multimat-part is ready for export and the result should look like that.